Camera controls
The camera
The default camera controls for Molchanica are different from other molecule viewing software. The camera is set up with 6 degrees of freedom, using either keyboard + mouse, or mouse only.
There are two camera control schemes, selectable using buttons in the camera section of the GUI. Its free camera is operated from the perspective of the viewer; it lets you move and look around, vs a constrained orbit. This makes it easier to get arbitrary views, especially of larger multi-molecule systems. The arc camera centers the view on a molecule or atom, and lets the camera rotate around it. If viewiewing a single molecule, or if you are on a computer without a mouse, Arc is a good choice.

Free camera
The free camera mode is intended to be used with a keyboard and mouse together. They operate on the perspective of the viewer, vice the molecule. You can move and rotate and move the camerain 6 degrees of freedom, allowing you to easily view the molecule from any perspective.
This is a good default for multi-molecule systems, inspecting large proteins, and MD run. This view may be less appropriate for viewing a single small molecule, and works best with a keyboard and traditional (non-touchpad) mouse. To use the free camera, select it from the Camera section of the GUI.
You may move forward, back, left, and right using the WASD keys, similar to a 3D video game. You can look around using the mouse, while holding the left mouse button. Hold space to move up, and C to move down. Hold Q and R to roll the view around the forward axis.
You may also move forward and back using the scroll wheel.
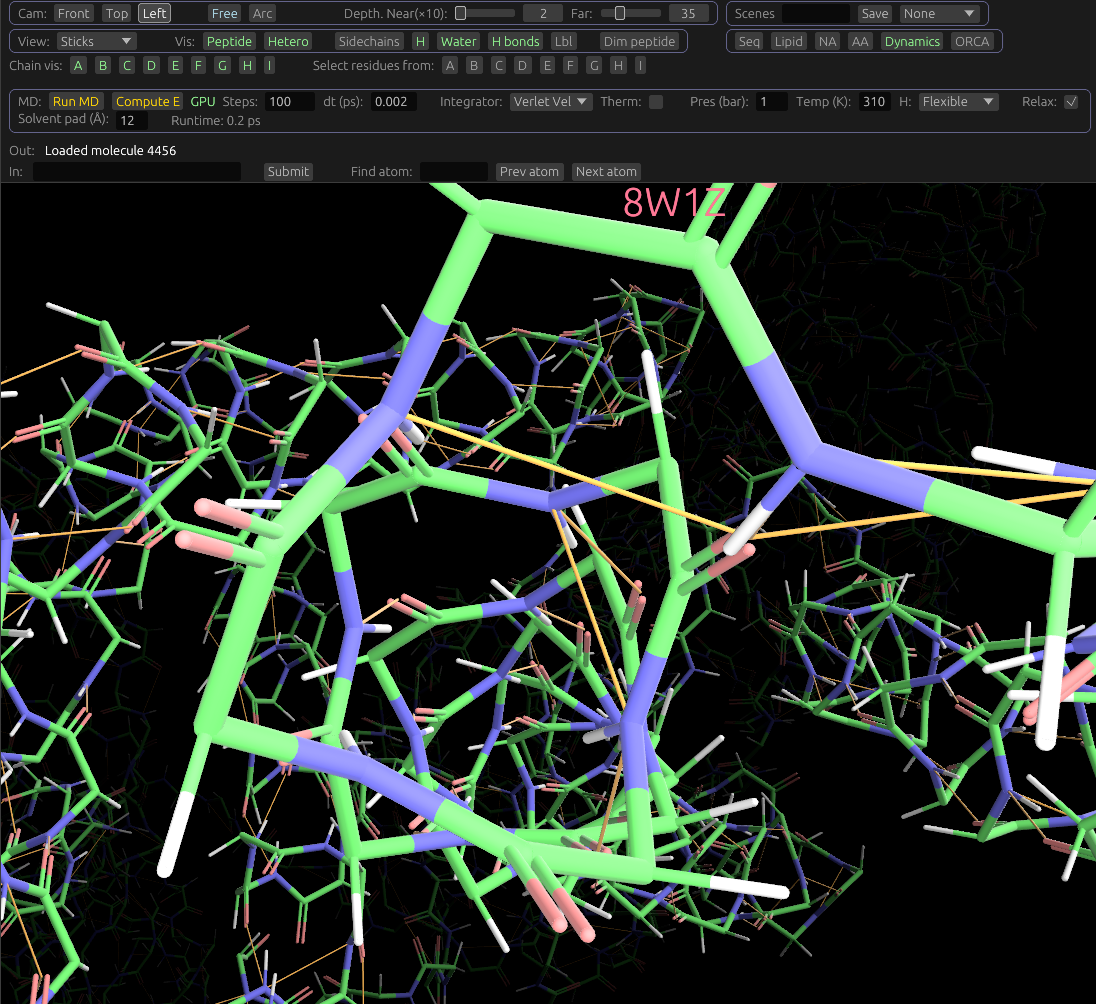
The free camera works best for large molecules and sets of multiple molecules, as it's easy to finely position the camera. In the example image above, we demonstrate positioning the free camera in a protein's Helix; this is something that may be difficult to do using the arc camera, but is easy with the free camera.
Arc camera
Similar to traditional molecular viewing software. The camera arcs (or orbits) around the molecule, when holding the left mouse button and dragging. Other controls, like scroll wheel and middle mouse, operate similar to the free camera. If orbit sel is set in the GUI, the orbit center will be the selected atom or residue, vice the molecule center.
The arc's orbit center can be set to one of two modes: Selection, and molecule center. If the Orbit sel button in the camera section of the UI is selected, the selected atom or bond (if there is one) will always be the orbit center. So, you can right click an atom to change the orbit center. The camera won't snap to the new orbit when you do this, but it will the next time you change the camera position, i.e. with the mouse or keyboard. If Orbit sel isn't selected, the active molecule's centroid will be the orbit center.
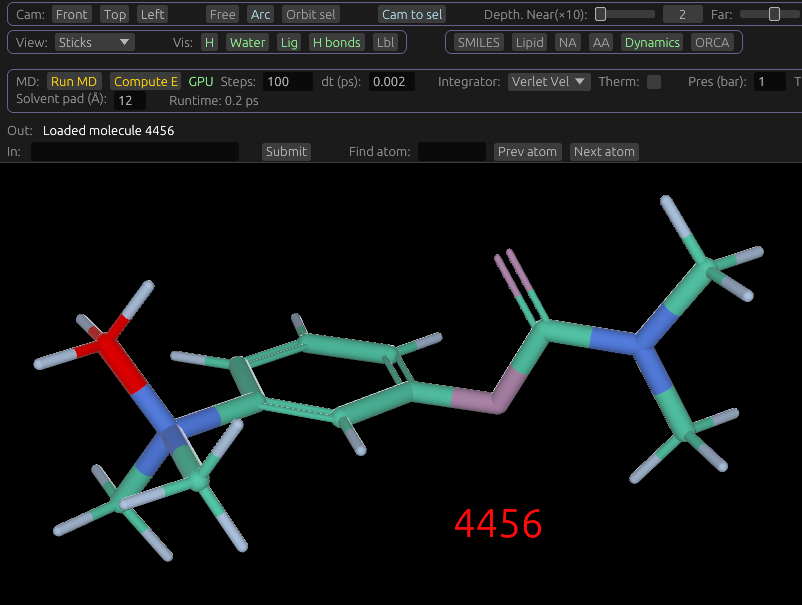
The Arc camera is convenient for viewing a single small molecule, as you can usually see the whole molecule's structure at once. For example, ligands and other small organic molecules.
Hotkeys
Most of this functionality is also available in the GUI, and you can find hotkeys from the GUI's tooltips. We recommend starting with the GUI, and integrating hotkeys into your workflow as you go, using tooltips. See below for a reference.
Mouse controls:
- Hold the left mouse button while dragging to rotate the camera in pitch and yaw.
- Hold the middle mouse button while dragging to move the camera left, right, up, and down.
- Scroll to move the camera forward and backwards.
- Scroll while holding left mouse button to roll.
- Right click to select the atom or residue under the cursor. This also selects the molecule to manipulate.
Camera hotkeys
- W: Move forward
- A: Move right
- A: Move left
- D: Move back
- Space: Move up
- C: Move down
- Q: Roll counter-clockwise
-
R: Roll clockwise
-
Shift (left): Hold to increase camera movement and rotation speed.
- Scroll whlie holding left mouse: Roll (Alternative to Q/R)
Presets and scenes
You can reset the camera immediately to preset safe views using the Front, Top, and Left buttons in the camera UI. These take into account all open molecules, and position the camera looking at them at an appropriate distance, along the absolute axis seleted, in our coordinate system.
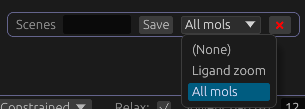
You can also save and restore scenes. These are camera positions and orientations, and view data (e.g. which items are hidden and shown) using the Scenes UI section. To use, first position the camera as you wish. Then type the name of the scene, and click Save. You can load a scene using the dropdown; this shows a list of scenes saved. To delete a saved scene, select it from the dropdown, then click the X button.
Positioning the camera
There are several ways to position the camera without moving it manually. For example, you may click the *Cam button in the sidebar for a given molecule to move the camera to it. You can click the "Front", "Top", or "Left" preset buttons in the UI to position the camera to look at the system as a whole, from preset angles.
Click Cam to Sel to move the camera to the selected atom, bond, or residue. This may be useful when viewing proteins.
In addition to moving the camera, you may wish to move molecules to the camera. This is done with the "Move to Cam" button in the side bar; it moves the active molecule in front of the camera.