View settings, and selecting items
You can select an atom, bond, or residue by right-clicking on it. Only one of these selection categories can be used at a time. To change which, use the View/Sel level dropdown in the view section of the UI. Hotkeys for cyling: ; and '. You can deselect an item by right-clicking it again, selecting another item, or pressing the Esc key. You can cycle through items using the next atom (or next bond, next residue etc, depending on the view/selection level), or their hotkeys, Left arrow and Right arrow.
Selecting multiple atoms
To select multiple items, hold shift while selecting. This can be used in the molecule editor to create covalent bonds, or more generally, to see info from multiple atoms at once. It's also the selection mode entered in atom searches when there is more than one matching result.

Selected items are rendered in red.
In addition to affecting selection behavior, View/Sel level also changes the color scheme of the displayed molecule. In Residue mode, it colors each residue together instead of color coding by atom.
Information display
The UI displays a consise bit of data for the selected item; its contents depend on the type of selection. See the examples below:
Atom selection data:

Bond selection data displays two lengths: Both the instantaneous, measured length, and the equilibrium length maintained by force field bonded parameter. It also includes the oscillation frequency around this length, derived from the force field.

Residue selection data:

When you select an atom or bond in a small organic molecule, that molecule is set as the active molecule.
View modes
You can use the View dropdown in the UI to select one of several visualization modes. You can toggle between them using the Left and right bracket keys Below is a summary:
- Sticks: Covalent bonds as cylinders
- Ball and stick: Covalent bonds as cylinders; atoms as spheres
- Spacefill: Spheres on each atom, with size of the atom's Van der Waal radius
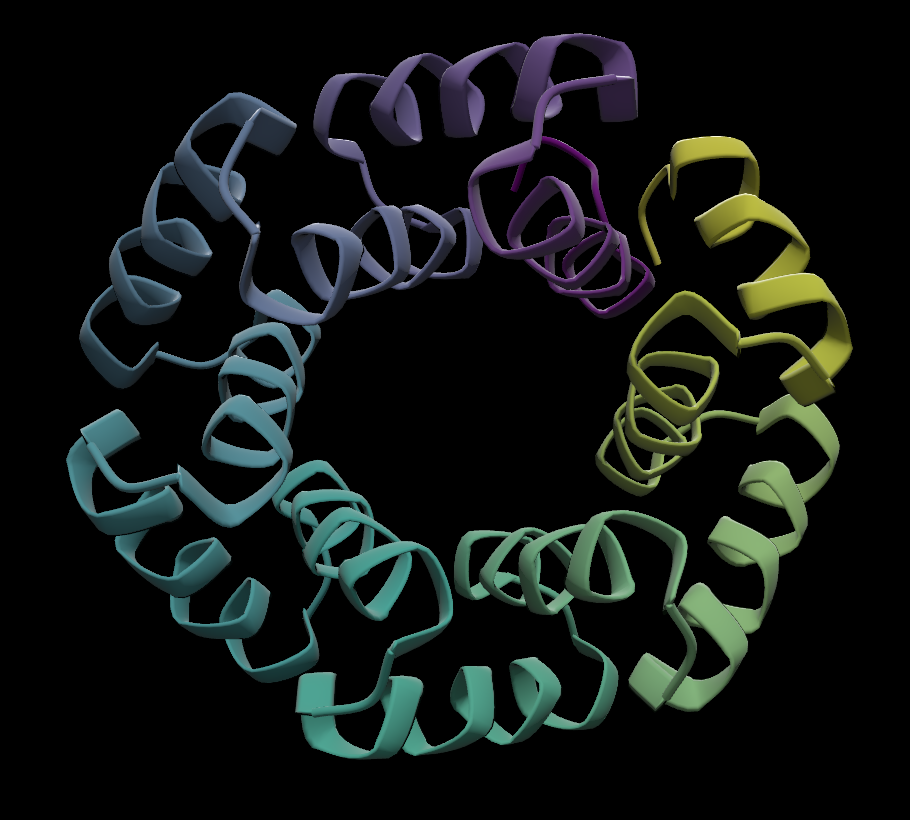
- Ribbon: An abstract depiction of a protein's secondary structure; also known as cartoon.
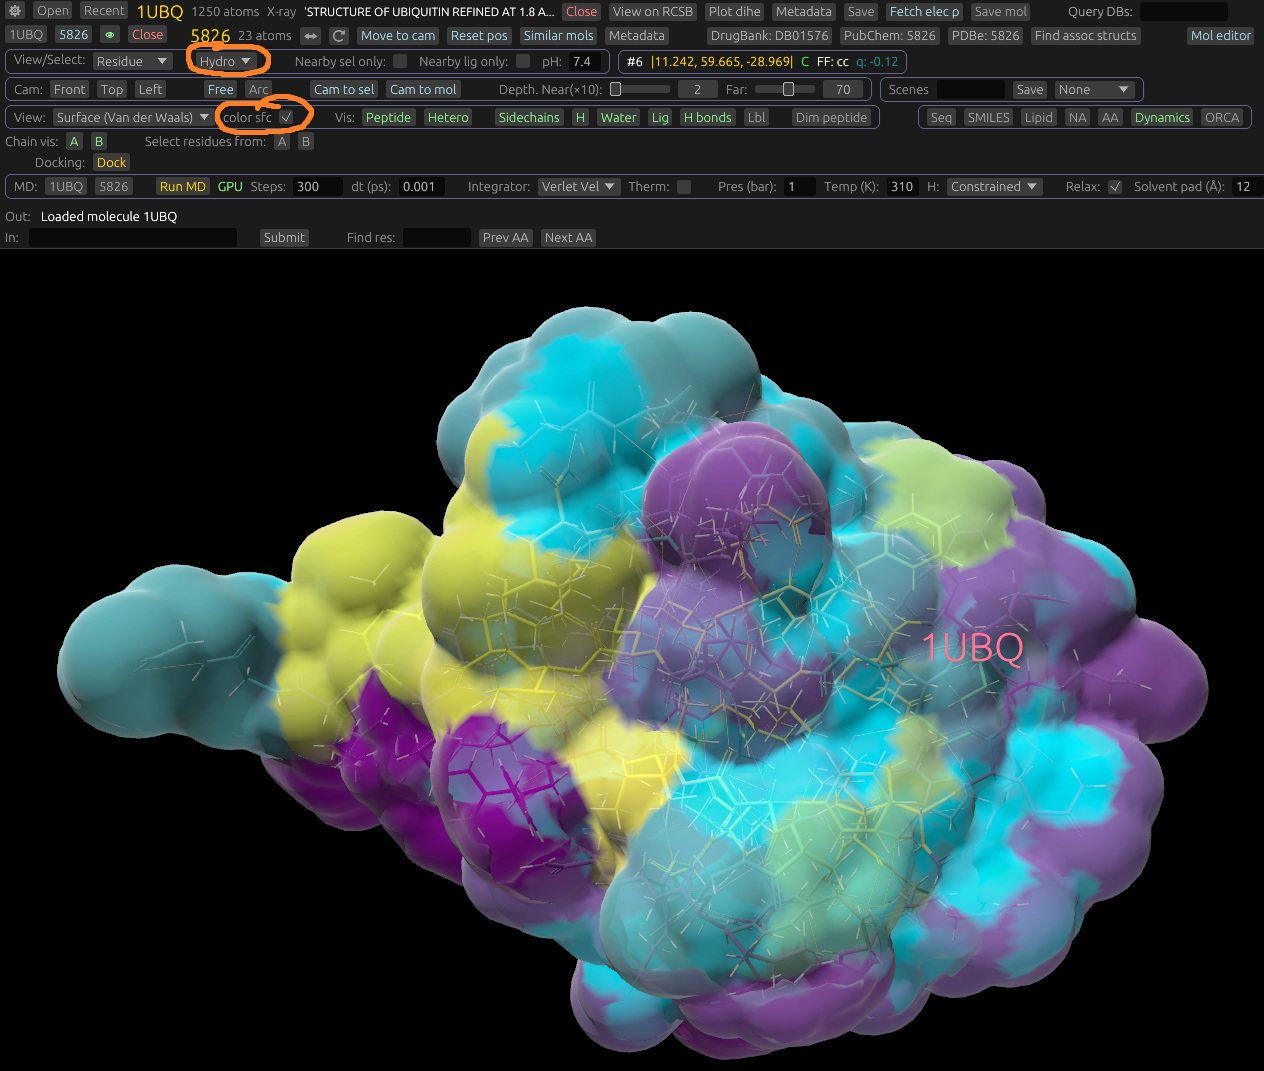
- Surface: A transparent Van der Waals, transparent surface, overlayed over sticks
- Dots: A Van der Waal surface, depicting with dots at the vertices, and no surface mesh
- Backbone: like sticks, but with no side chains
Color codes
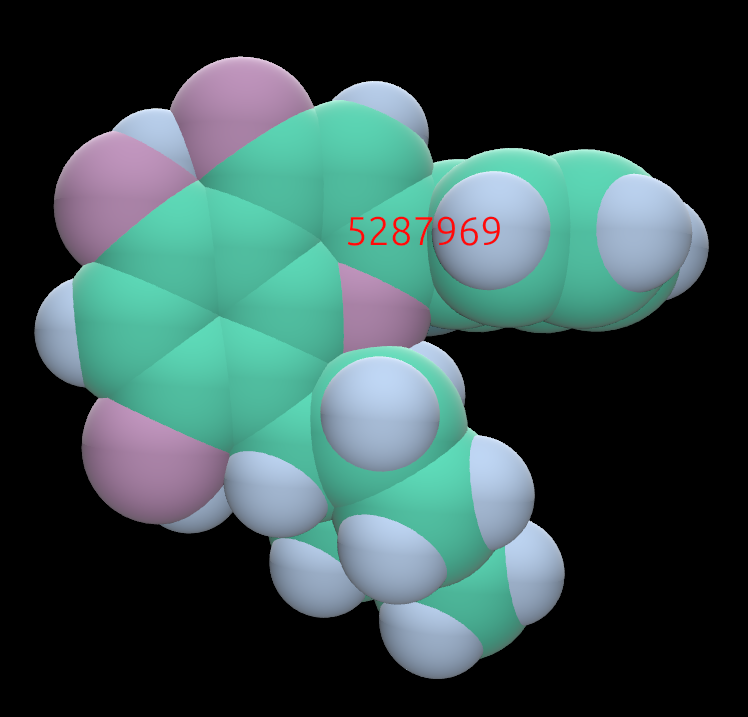
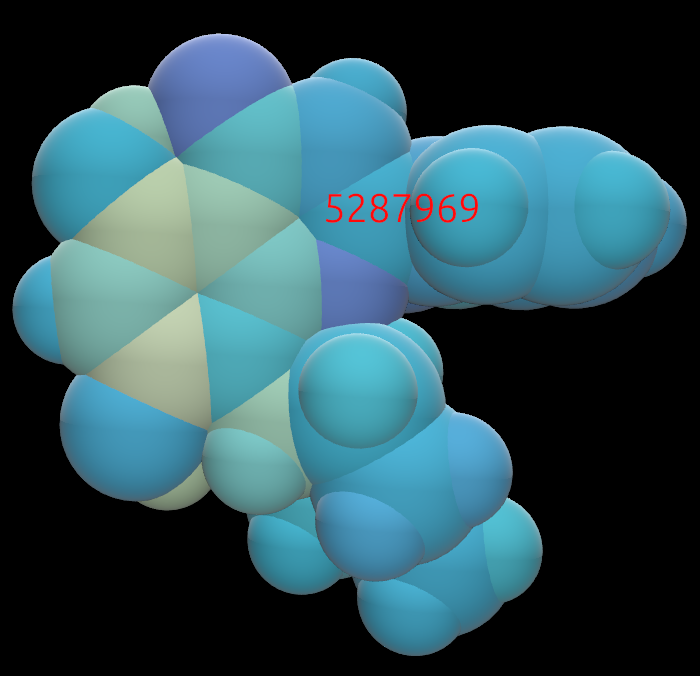
By default, atoms are color-coded using the typical CPK scheme. We have mimicked the specific colors used by PyMol in some cases. For example, Carbon atoms are green, oxygen atoms are red, nitrogen blue, hydrogen white. Alternate color schemes are available depending on the Vew / Sel level: If atom or bond is set, you can color atoms by partial charge. If Residue is set, you can color by the residue's position, e.g. in its polypeptide chain. In all coloring modes that represent a scalar value on a fixed range, we use the Viridis color map to smoothly display the transition. FOr example, between positive and negative charge, lipophilicity, or first and last residue.
To enable these, select the Color by q or Color by res UI items.
You can also color small molecules each a different color using the Contrast ligs button. This also uses a Viridis color scheme.
If in the Residue view/select mode, there is a dropdown displayed to select how to color residues. For example, you can color by hydrophobicity, position in sequence, or a fixed color for each residue. If viewing in Surface mode, an additional Color sfc dropdown is displayed. In most of these options, the solvent-accessible surface will be colored according to the atoms closest to it. For example, it can color by element, charge, or lipophilicity of neghboring atoms and residues. Here's an example of it colored by hydrophobicity.
Example of a small molecule colored in CPK:
The same molecule, colored by partial charge. Yellow is positive charge; purple is negative.:
Example of residues colored by position in sequence:

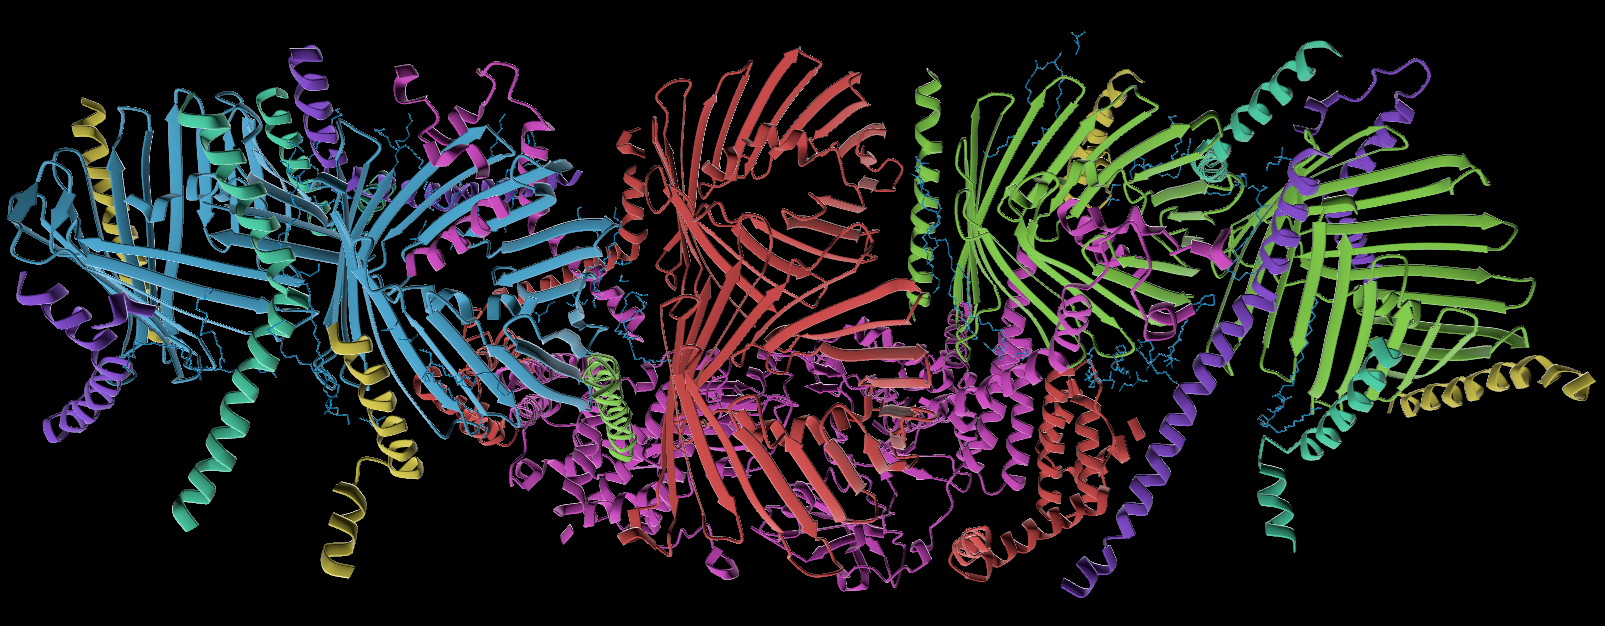
Proteins: Color by residue
You can color proteins by residues by selecting Residue from the View/Sel level dropdown. This will color each residue a solid color. You can select which color scheme this is from the dropdown that will appear next to it. Choose from the following options:
- AA: Each amino acid residue has its own color.
- Posit: Colored by position in the chain, using a viridis color map. From start to end, maps from yellow to purple.
- Hydro: Colored by hydrophobicity, using a viridis color map. From hydrophobic to hydrophilic.
- SIFTS: Colored by Structure Integration with Function, Taxonomy and Sequence (SIFTS) mapping, using a contrasting color map. Uses data from PDBe and UniProt. Colors the protein by entity ID, which makes chains, etc, which are copies of one another, or otherwise function similarly, colored the same. This can be a visually intuitive way to color biologically-related sections the same color.
- Chain: Each chain is colored with a different, contrasting color.
Molecule display adjustments
There are several ways to adjust how molecules are displayed. For exampl,e you can adjust the Depth and Far sliders to respectively filter out molecules too close to the camera, and fade out molecules far from it. This may be useful for examining specific residues in a protein, reducing background clutter. You can also adjust the far setting by scrolling using the mouse wheel while holding the Ctrl key.
Click Dim peptide to blend the protein's color into the background, i.e. darkening it. This makes other molecules easier to view when near the protein, without hiding it entirely.
Filters
There are several filter buttons available in the View UI toolbar. You can click this to toggle on or off various parts of molecules. Some of these are specific to proteins, and their filter controls will only display if a protein is open. For example, you can filter out side chains, water molecules, hetero atoms, or non-hetero (amino acid) atoms. You can also hide or display hydrogen atoms, and hydrogen bonds.
For proteins that have multiple chains, a button for each chain will display, with the chain's identifier (e.g. a letter). Click this to show or hide the chain.
You can also filter by location of a protein atom; use the buttons labeled near to do this. For example, you can filter by only atoms near the selected item, only near the active ligand molecule, or only near the surface of the protein. If one of these is selected, a distance slider will appear; this lets you set the distance threshold for the selected filter[s].
Searching for atoms and residues
You can use the Find input box to search for atoms or residues. It will search within the active molecule only, so prior to using it, you may need to set the active molecule by clicking its identifier in the sidebar, or seelcting an atom (etc) in it by right-clicking. Some examples of how to use this:
- Search for an atom by serial number
- Search for a residue by serial number: To do this, you must be in the Residue View/Select mode.
- Search for a residue by its amino acid identifier: Either a 3-letter identifier like Met, or a one-letter identifier like M.
- Search for a hetero residue by name.